
01The purpose of this guide
People Skills are one of the three foundations of the TXSNOW Teaching Triangle.
Even strong technical skills and a well-planned session cannot do much if a student does not trust their instructor or feels anxious, frightened or unwilling to participate.
This guide addresses common situations in which instructors need practical support:
- Building trust quickly, with particular attention to nonverbal communication
- Responding to anxiety, reluctance, fear and tears
- Communicating effectively with parents
02Build trust from the start
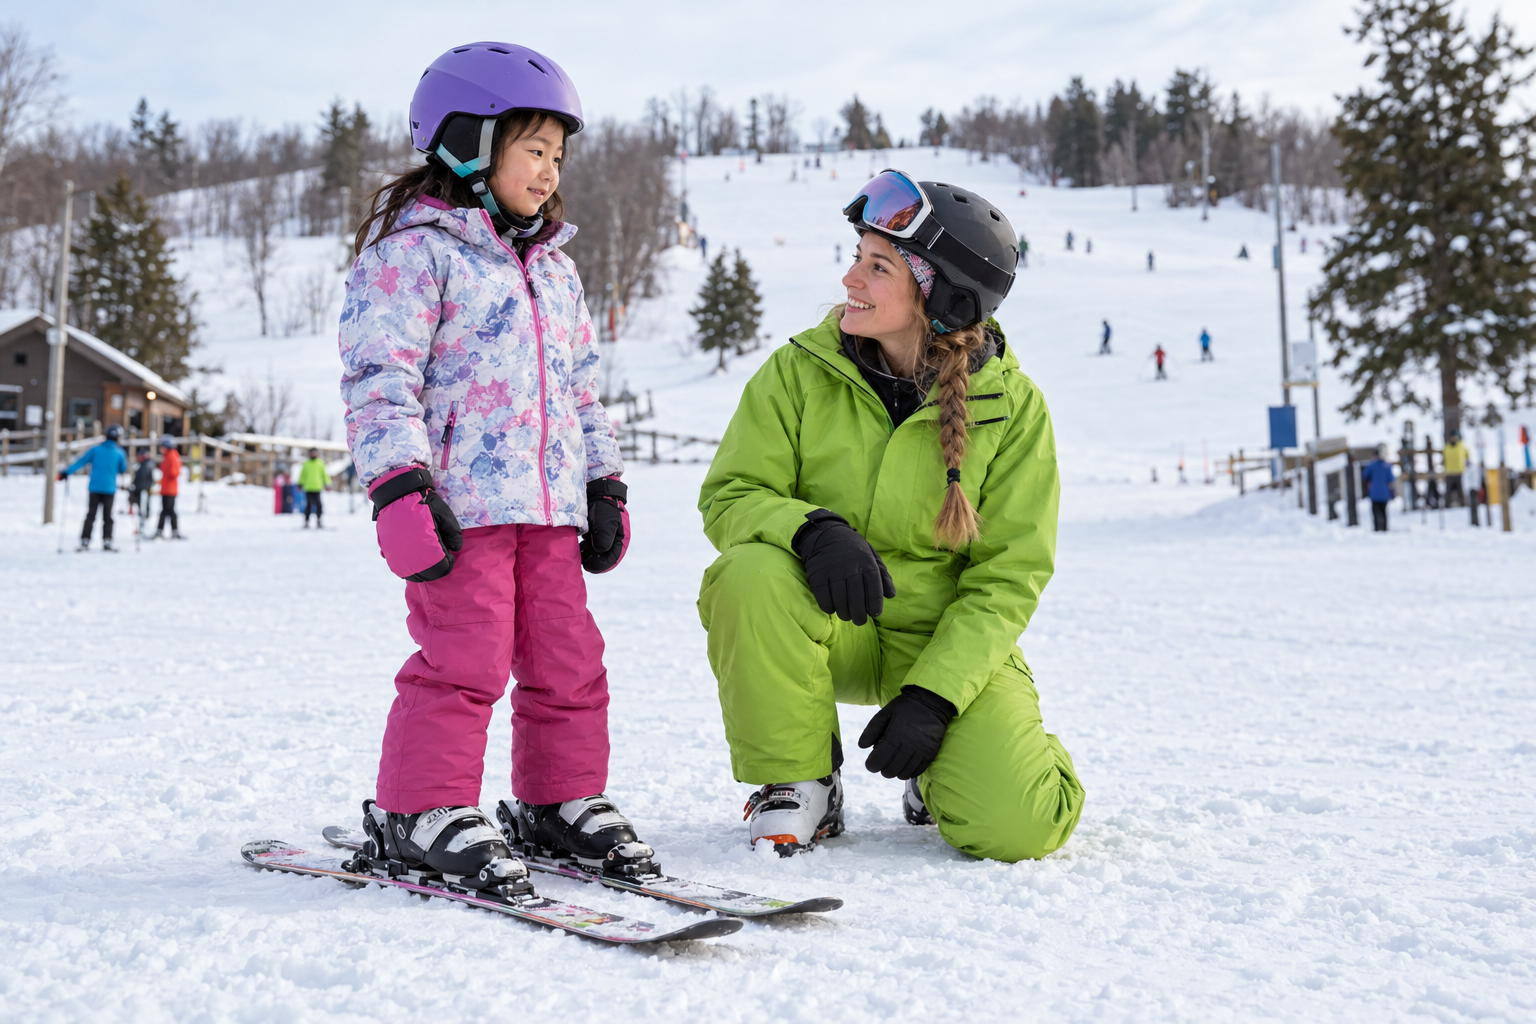
The first 3–5 minutes can set the tone for the whole session.
A friendly attitude alone does not create trust. Students need to see and hear it in the way you interact with them.
At your first meeting, how you present yourself matters just as much as what you say. Before you speak, your body language is already communicating your mood, your willingness to engage and much more.
Nonverbal communication: first impressions begin before you speak
Body language includes posture, gestures, facial expressions and eye contact. It often accompanies what we say. We can use it deliberately to reinforce a message, but it can also reveal how we feel without our noticing.
Instructors who communicate well both verbally and nonverbally are better able to earn trust. When students feel comfortable with you, they are more likely to start a conversation themselves.
Posture
The way you stand conveys your attitude. An open, relaxed posture can show that you are approachable, willing to engage and ready to listen.
With a young child, kneel on one or both knees so you can meet them comfortably at eye level.
Avoid folding your arms, turning your back on the student or adjusting your own equipment while speaking to them.
Gestures
Gestures serve many purposes. Make sure yours help create a welcoming, friendly atmosphere.
A handshake can feel professional and formal; a high five is more relaxed. Choose an approach that suits the student’s age and temperament.
Avoid surprising a student with a tap on the shoulder from behind or taking their hand against their wishes.
Facial expressions & eye contact
Your facial expression immediately communicates your reaction. Natural eye contact shows interest and attention.
A smile is a small gesture that can brighten someone’s day.
Lift your goggles and lower your face covering so the student can see your face and a genuine smile.
When speaking with a student, make natural eye contact rather than looking down at the snow or at your phone.
Notice how the student is feeling
Use what you observe to guide how you speak with them. Do they seem nervous, anxious or distracted? Are they visibly trembling or looking around uneasily?
Or are they excited, full of energy and eager to get moving?
Use conversation to build a connection
Get to know each other before jumping into instruction
Give a learning partnership time to develop, rather than making the student feel that you are rushing straight into teaching.
- Introduce yourselves clearly and politely, and check how the student would like to be addressed.
- Remember their name and use it naturally from time to time.
- In a group, make sure students know one another’s names.
- Check in briefly: “How are you feeling today? A little nervous?”
Ask questions that help you understand the person
Learn about the factors beyond technique that the student brings to the session. These can affect learning and performance, and may need to become the focus of the session.
- Physical and emotional state: “I’ve noticed you’re shivering a bit. Are you cold? Do you have enough layers on?”
- Background and interests: “I saw on your form that you swim regularly. Is this your first time skiing or snowboarding?”
- Motivation and goals: “Your form says you last skied about ten years ago. What made you decide to give it another go?”
Offer manageable choices
Having a choice can help people feel respected and less guarded. Keep building trust by giving them options they can comfortably act on.
“We’ll start with some exercises on the flat. Would you like to begin on the left or the right?”
“Would you like to put your gloves on now, or shall I hold them for you for a moment?”
Recognize specific actions as they happen
Go beyond “Good job” or “Great.” Tell the student what they did well:
“You pointed your board uphill on your own just then. That shows you’re really thinking about safety.”
“You were steady the first time you stood with both feet on the board. You have a great sense of balance.”
Turn the equipment check into a chance to build trust
Whether students have rented equipment or brought their own, comfort and fit can make a real difference to their experience of the session.
Use this opportunity to check their gear and make learning about equipment a conversation, rather than a series of instructions.
Explain why a good fit matters, so students know what to check the next time they come. This can build trust quickly: they see that you care about them, rather than simply working through a checklist.
Practical approaches
- When checking that boots are fastened securely, explain that a snug fit gives the student more control and precision once they start moving.
- When checking their layers, explain that they can tell you if they feel too warm and that you can help them put an extra layer somewhere safe.
- When checking helmets, goggles and gloves, give a brief reason for each check rather than simply telling the student to put everything on properly.
- With children, turn the check into a small game or a few questions instead of a formal inspection.
What you could say during an equipment check
“Let’s tighten your boots a little. It’ll be easier to get your board to do what you want.”
“Your jacket is a little light for today. Let me know if you feel cold—we can go back to the car for another layer.”
“Before we set off, let’s check one more thing: is your helmet strap fastened?”
03Respond to anxiety, reluctance, fear & tears
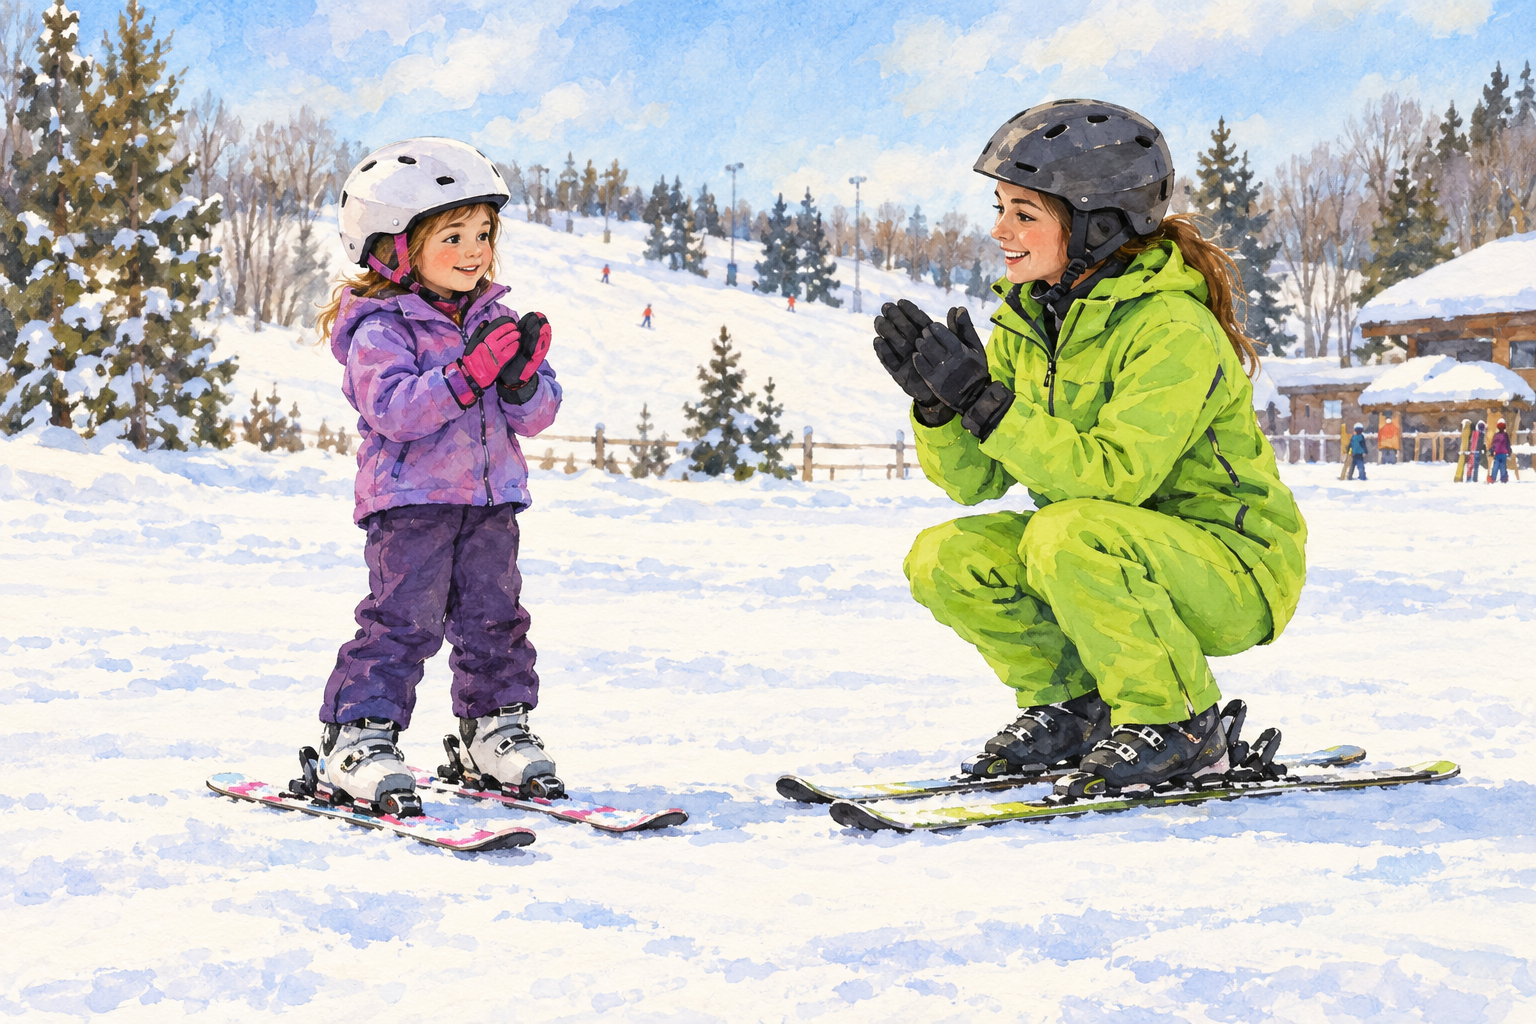
These are among the most common challenges in beginner sessions and children’s sessions.
Understand what is happening
A student who is anxious, reluctant, frightened or crying may even become physically rigid. Under that level of stress, they may struggle to think clearly as their response shifts towards what is often called “survival mode.” Technical explanations, reasoning or pressure to keep going are unlikely to help at this point, and may make things worse.
Work in this order:
Help them settle → establish a sense of safety and connection → return to learning.A four-step response
Pause and reduce stimulation
- Stop the current exercise or movement straight away.
- Lower your voice and make your movements smaller and calmer.
- Give the student space; do not insist on moving closer.
Acknowledge the feeling and offer reassurance
Useful phrases include:
“I can see you’re feeling nervous, or that you don’t want to keep going right now. That’s okay.”
“Let’s stay here for a moment. There’s no rush.”
“You’re safe here. I’m with you.”
Offer small choices or a simple, repeatable rhythm
Predictable patterns can help students feel more secure. Offer an easy action or a small choice they can manage.
“Shall we stay here and watch for a moment, or take two slow steps over to the side?”
“How about staying still on your board and clapping or counting together?”
For young children, rhythmic activities—patting their legs, gently swaying or repeating a simple movement—can help them settle and become ready to learn again.
Build confidence through respect and recognition
“Did you notice how much easier it was to stand up when you pressed down on your toe edge? You found a way to do it with less effort.”
“Are you feeling a little better? Would you like to try again? I’m right here with you.”
Common mistakes to avoid
- Dismissing feelings with “There’s nothing to be afraid of” or “Everyone else is doing it.”
- Pulling, pushing or carrying a student to make them continue.
- Explaining technique while the student is still crying.
- Using a reward or threat to pressure them to stop crying: “If you keep crying, we’re done” or “Finish this run and you’ll get a sticker.”
04Make parents part of the learning partnership
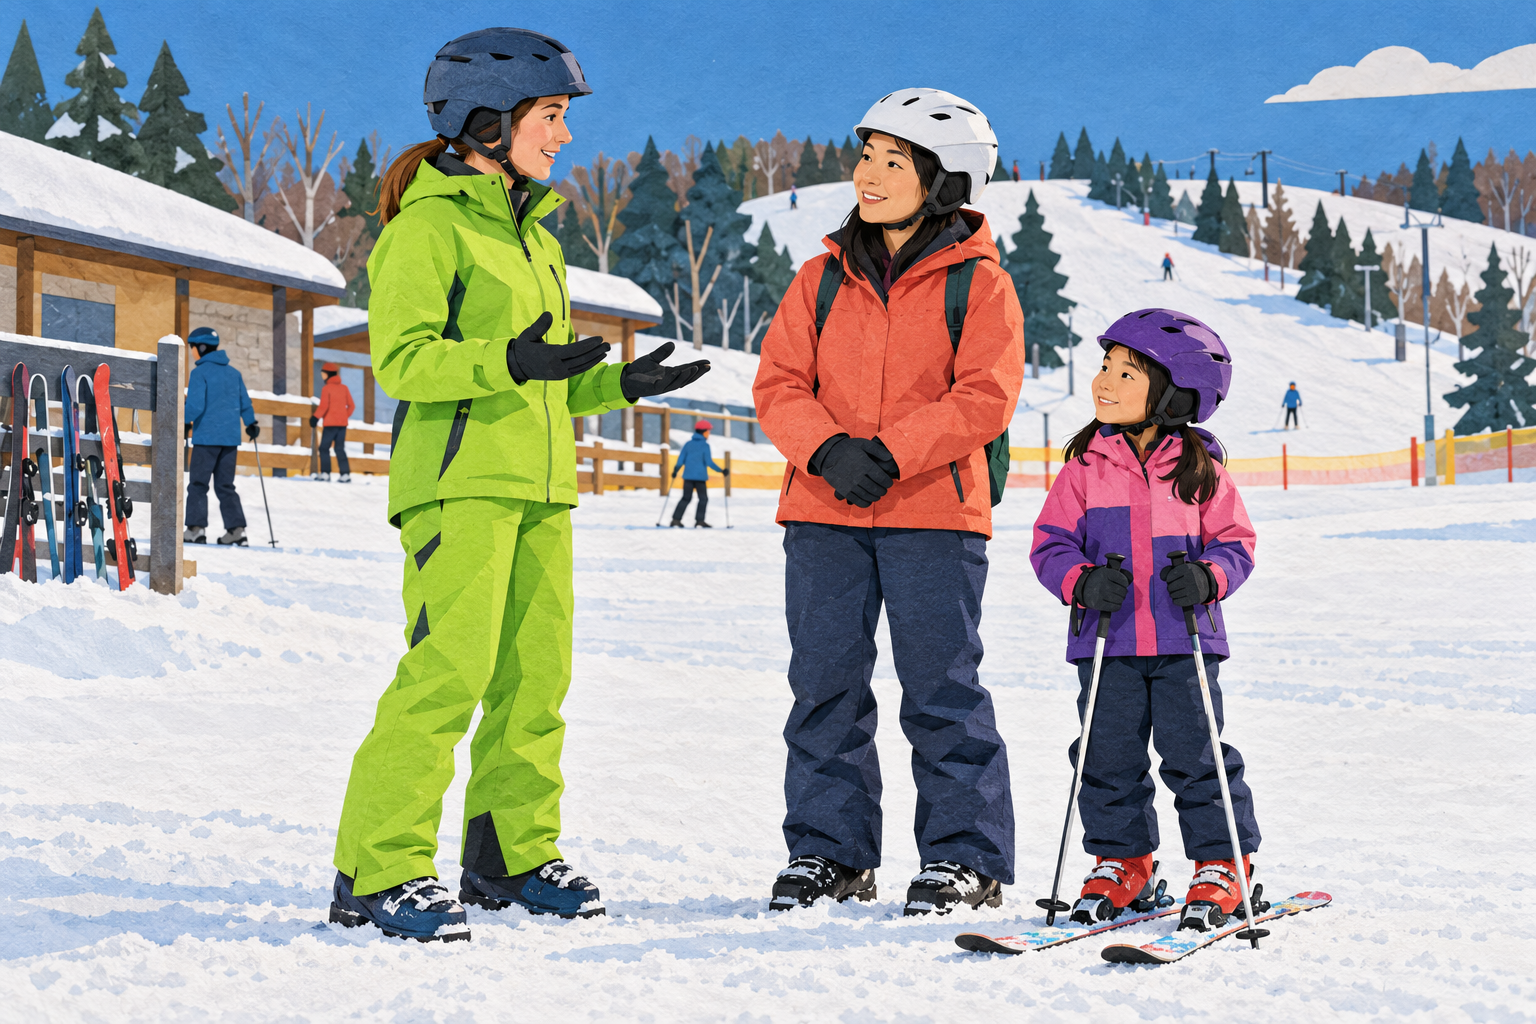
When parents are involved, they become part of the learning partnership. They may have even more influence than the student over whether and how future sessions continue.
Core principles
- Share what happened before offering your interpretation.
- Describe specific actions rather than labelling the child.
- Turn “the problem” into “how we can support the student together.”
- Communicate before, during and after the session—not only when something goes wrong.
A practical communication framework
Before the session: a brief check-in
“Is there anything we should know about today—for example, how your child slept, how they’re feeling or any physical discomfort?”
“Does your child tend to get hungry quickly?”
During the session: respond promptly and calmly
“He’s feeling a little scared right now, so we’re going to play for a while on gentler terrain to help him feel safe. There’s no rush to head up the hill.”
“I can see he needs a little more time to get comfortable with the slope, so we’ve adjusted the pace.”
After the session: provide useful post-session feedback
Good post-session feedback covers:
- Specific things you observed today—the facts
- How you adapted the session
- What to try next and how the parent can help
For example:
“He was quite nervous for the first 20 minutes and reluctant to put his weight over his board. We spent some time on flat ground practising standing steadily and moving short distances. He gradually relaxed and was able to slide a short way on his own. If he mentions feeling scared when you get home, you could remind him of the part where he managed to slide by himself. That can help reinforce the experience of succeeding.”
A final thought
At the heart of every good relationship is a natural, sincere connection between people.
No guide can cover every way an instructor and student might build trust.
That leaves room for you to find your own way—with your personality and your individual style.
References
- PSIA-AASI, The Learning Connection & Discipline-Specific Fundamentals, 2023.
- NZSIA, Ski Manual, Section A: The Art of Teaching, including material on the learning environment, session structure, relationships with students, checking understanding and feedback; related SBINZ teaching materials were also consulted.
- CASI Reference Guide
- CSIA Instructor Guide
This guide was independently developed by TXSNOW. It is not an official publication of any of the organizations listed above.
A practical companion to the core documents of the TXSNOW teaching system.